Product Development
Clothing Tech Pack Checklist: What to Send for a Quote
Prepare a clothing tech pack for a clearer quote. Check sketches, materials, measurements, artwork placement, quantities and revisions before sampling.
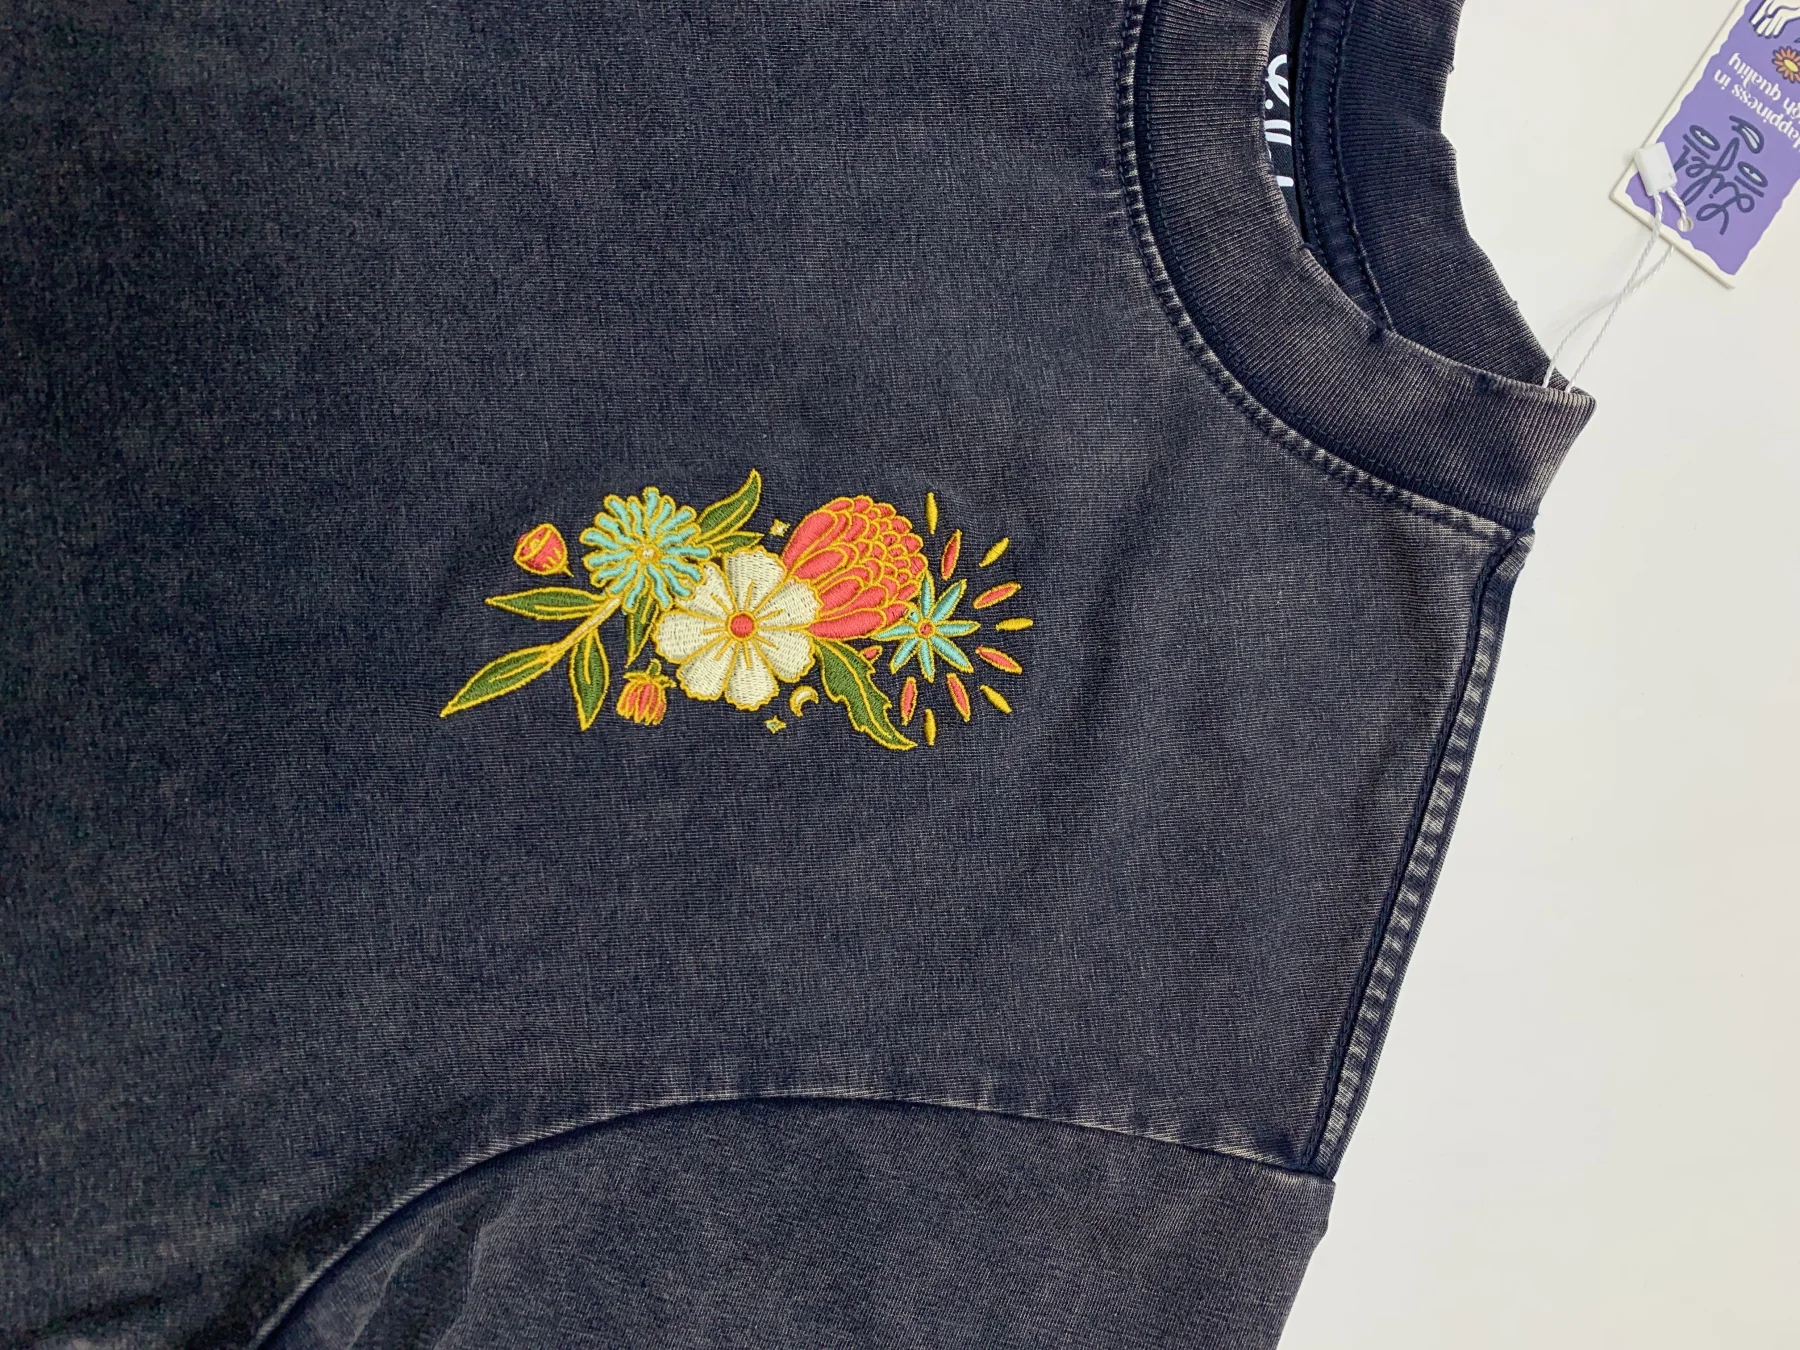
Quick answer: A clothing tech pack should identify the style, show the garment, specify its materials and measurements, locate each decoration and record the current revision. For an initial quote, clearly separate confirmed requirements from open decisions. A reference picture is helpful, but it cannot communicate every construction or measurement instruction.
This clothing tech pack checklist is for brand founders preparing custom T-shirts, hoodies or matching sets. WILDYET uses project information to coordinate development and sampling with partner factories. You can start a discussion with incomplete information, provided the missing decisions are visible and any initial quote is understood to depend on them.
What is a clothing tech pack?
A tech pack is a set of production specifications for a garment. A measurement sheet is one component, rather than the entire pack. Techpacker's guide to tech packs identifies sketches, materials, measurements, construction information and revision history as parts of that production brief.
The useful question is whether another person can interpret the document without guessing what your drawing means. You do not need a decorative presentation. You need legible references, consistent units, identifiable files and a record of what has changed.
A clothing tech pack checklist for the first quotation
1. Identify the style and the current version
Give the project a style code, a short name, a date and a revision number. Put that information on the main document and use matching file names for artwork. State the intended product category, the proposed colorways and the requested size range.
Include an order estimate by style and color. If your quantity is still uncertain, label it as an estimate rather than mixing it with confirmed instructions. A quote for one color and a quote for several colors should not look like interchangeable offers.
2. Show the garment from useful views
Provide front and back drawings, then add detail views where construction is unusual. Mark pockets, panels, rib sections, drawcords, closures and any asymmetric features. Reference photographs can explain the intended silhouette, but annotate the feature you want the supplier to study.
For example, write that an image illustrates sleeve volume or a neckline finish. Do not ask the supplier to copy every visible detail unless that is actually your instruction. This distinction also helps keep another brand's visible graphics out of your own production specification.
3. Describe the materials and trims
List the main fabric, rib, pocketing, thread, closures, labels and packaging requirements that matter to your design. Record known composition and fabric weight, and mark any proposed substitutions for review. A photograph of a fabric surface cannot confirm either specification.
Include color references and explain which physical swatch or approval controls the final decision. If the brief contains both a written color description and an image, say which one is the starting reference. Leave space to record the eventually approved material rather than overwriting the initial request without a revision.
4. Define the points of measure
For each measurement, show where it starts, where it ends and how the garment is positioned. Distinguish a flat half-chest measurement from a full circumference. Use one unit system consistently and identify the sample size.
An example entry could be: flat half-chest, measured across the garment, in centimeters; target and tolerance to be agreed. That is a measurement description, not a recommended size. Tolerances and grading between sizes should be reviewed for the actual style instead of copied from an unrelated garment.
5. Specify artwork and decoration
Link each artwork file to its location and provide finished width and height. Identify the intended technique, color references and any details that must remain readable. A mockup shows the visual idea; a placement callout provides a repeatable instruction.
For embroidery, ask for a review of digitizing and fine details. For print files, ask about the requirements for the selected method and final size. Printful's file preparation guidance provides a useful example of checking dimensions, resolution, transparency and product-specific requirements; your own production supplier should confirm its specifications.
Our customization page is a starting point for reviewing decoration options.
6. Record labels, packaging and approvals
Specify label content, intended locations and the finish you want to inspect. Separate the design of a label from market-specific labeling requirements, which need their own review for the destination and product. Include packaging requests only where they are actually required.
Add a short approval log: what was submitted, what changed and what remains open. After sampling, keep approved measurements, materials and decoration references together. See the sample approval checklist for the next stage.
A copy-and-fill quotation brief
- Style code and revision:
- Garment and reference drawings:
- Fabric and trim requirements:
- Sample size and measurement method:
- Artwork files, method, dimensions and placement:
- Colors and quantity by style, color and size:
- Labels, packaging and delivery destination:
- Confirmed requirements and decisions still open:
Keep this brief beside the visual files. If a requirement changes in a message, update the document as well so that the next sampling round does not rely on a disconnected conversation.
Questions about preparing a tech pack
Can I get a quote without a complete tech pack?
Yes, you can begin with a reference, artwork and a clear description of what you need. Identify the information that is not yet confirmed. The supplier can explain the assumptions behind an initial estimate and what must be resolved before a final production quote or sample approval.
Is a size chart enough for custom development?
A size chart does not explain the full garment. It may omit measurement methods, materials, construction, artwork and finishing. Use it as one part of the brief, then add the details that distinguish your intended style from a supplier's existing product.
What should I do when the design changes?
Issue a new dated revision and identify the affected sections. Keep the previous file for comparison, but make the active version unambiguous. Ask the supplier to confirm whether the change affects sampling, price, materials or the production schedule before proceeding.
Prepare the next conversation
A useful clothing tech pack reduces the number of decisions left to interpretation. Start with the checklist, attach the references you have and label the unanswered questions. Send your project to WILDYET for a review of the information needed to move from an idea to a quoted sample.